
Rediroom can be setup in 5 minutes. The numbered decals help guide you through setup. Setup begins with decal 1 and the highest number is decal 13. Before you start to setup, you'll first need to move the Rediroom to the bedside and load in a Rediroom canopy.
Rediroom should be decontaminated between each patient use, at regular intervals, after blood or body fluid contamination, before servicing or repair and before disposal. Decal A is used to collapse the canopy. We recommend disinfection with Clinell Universal Wipes or Clinell Peracetic Acid Wipes as needed, but full disinfectant compatibility can be found in the Rediroom product manual.
After cleaning, Rediroom can be packed down in 5 minutes. The letter decals on the machine will help guide you through the pack down steps. Because decal A is used to collapse the canopy before cleaning, pack down begins with decal B and ends with decal O.

Product info
See detailed product info, downloadable resources and order codes.
Latest
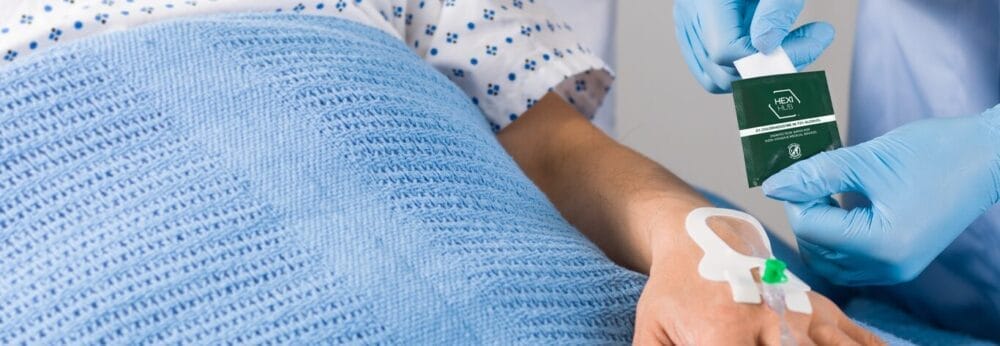
Introducing HEXI HUB: A seamless transition in our product line
We’re pleased to announce an update to our product offering…
Innovative solutions for tackling Carbapenemase-producing Enterobacteriaceae (CPE) at King’s College Hospitals
King’s College Hospital NHS Foundation Trust, one of London’s largest…
Gloves Off: reducing unnecessary plastic waste during environmental cleaning and disinfection
In this blog, Dr Phil Norville discusses the momentum-gaining ‘Gloves…
Gloves Off: Navigating SDS sheets and skin safety claims in environmental decontamination products
In this blog, James Clarke (Head of R&D, Science &…
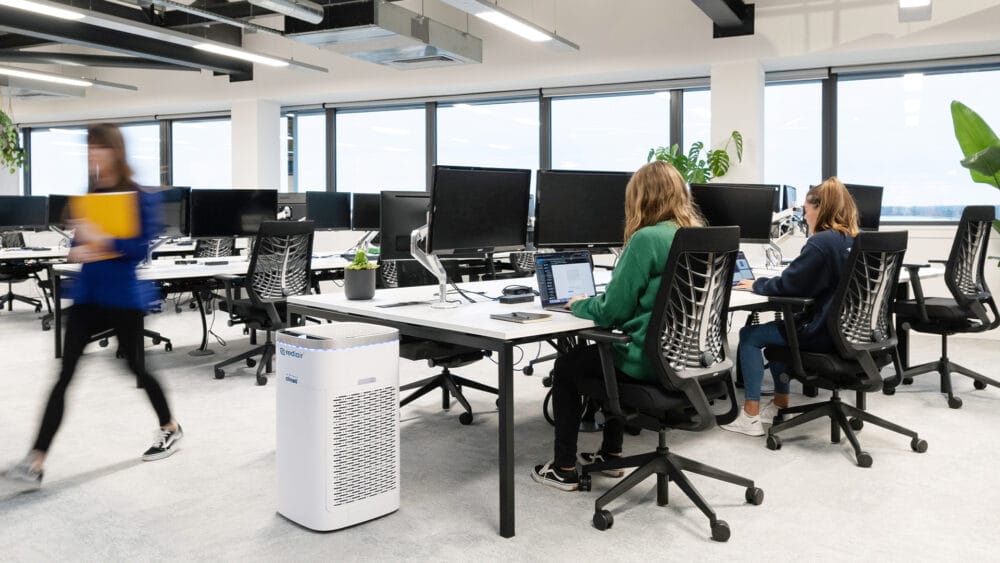
Help reduce staff sickness and improve air ventilation with Rediair
As the winter season approaches, concerns over staff sickness and…
Moments that Matter: celebrating the fundamentals of infection prevention
To celebrate the fundamentals of infection prevention, we’re exploring the…

Tackling surface contamination is key to controlling Candida auris
Candida auris is a key emerging threat to healthcare facilities…
Save money on air purification with Rediair: A cost-effective solution to expensive alternatives
A comparative evaluation of three different stand-alone HEPA-based air systems…
New study links 2-in-1 wipes with reduced in-hospital mortality
In today’s blog, we’ll be discussing a new publication from…

How Rediair can address NHS England’s new air filtration guidelines
In this week’s article, we discuss the newly developed UK…